Create and organize channels
For managers and admins. Public and private channels, categories, and the Free plan limit.
Last updated About 1 month ago
For managers and admins.
Managers and admins create channels and categories. Members cannot. There is no + button — everything starts from a right-click.
New channel or category
Right-click a category heading such as CHANNELS.
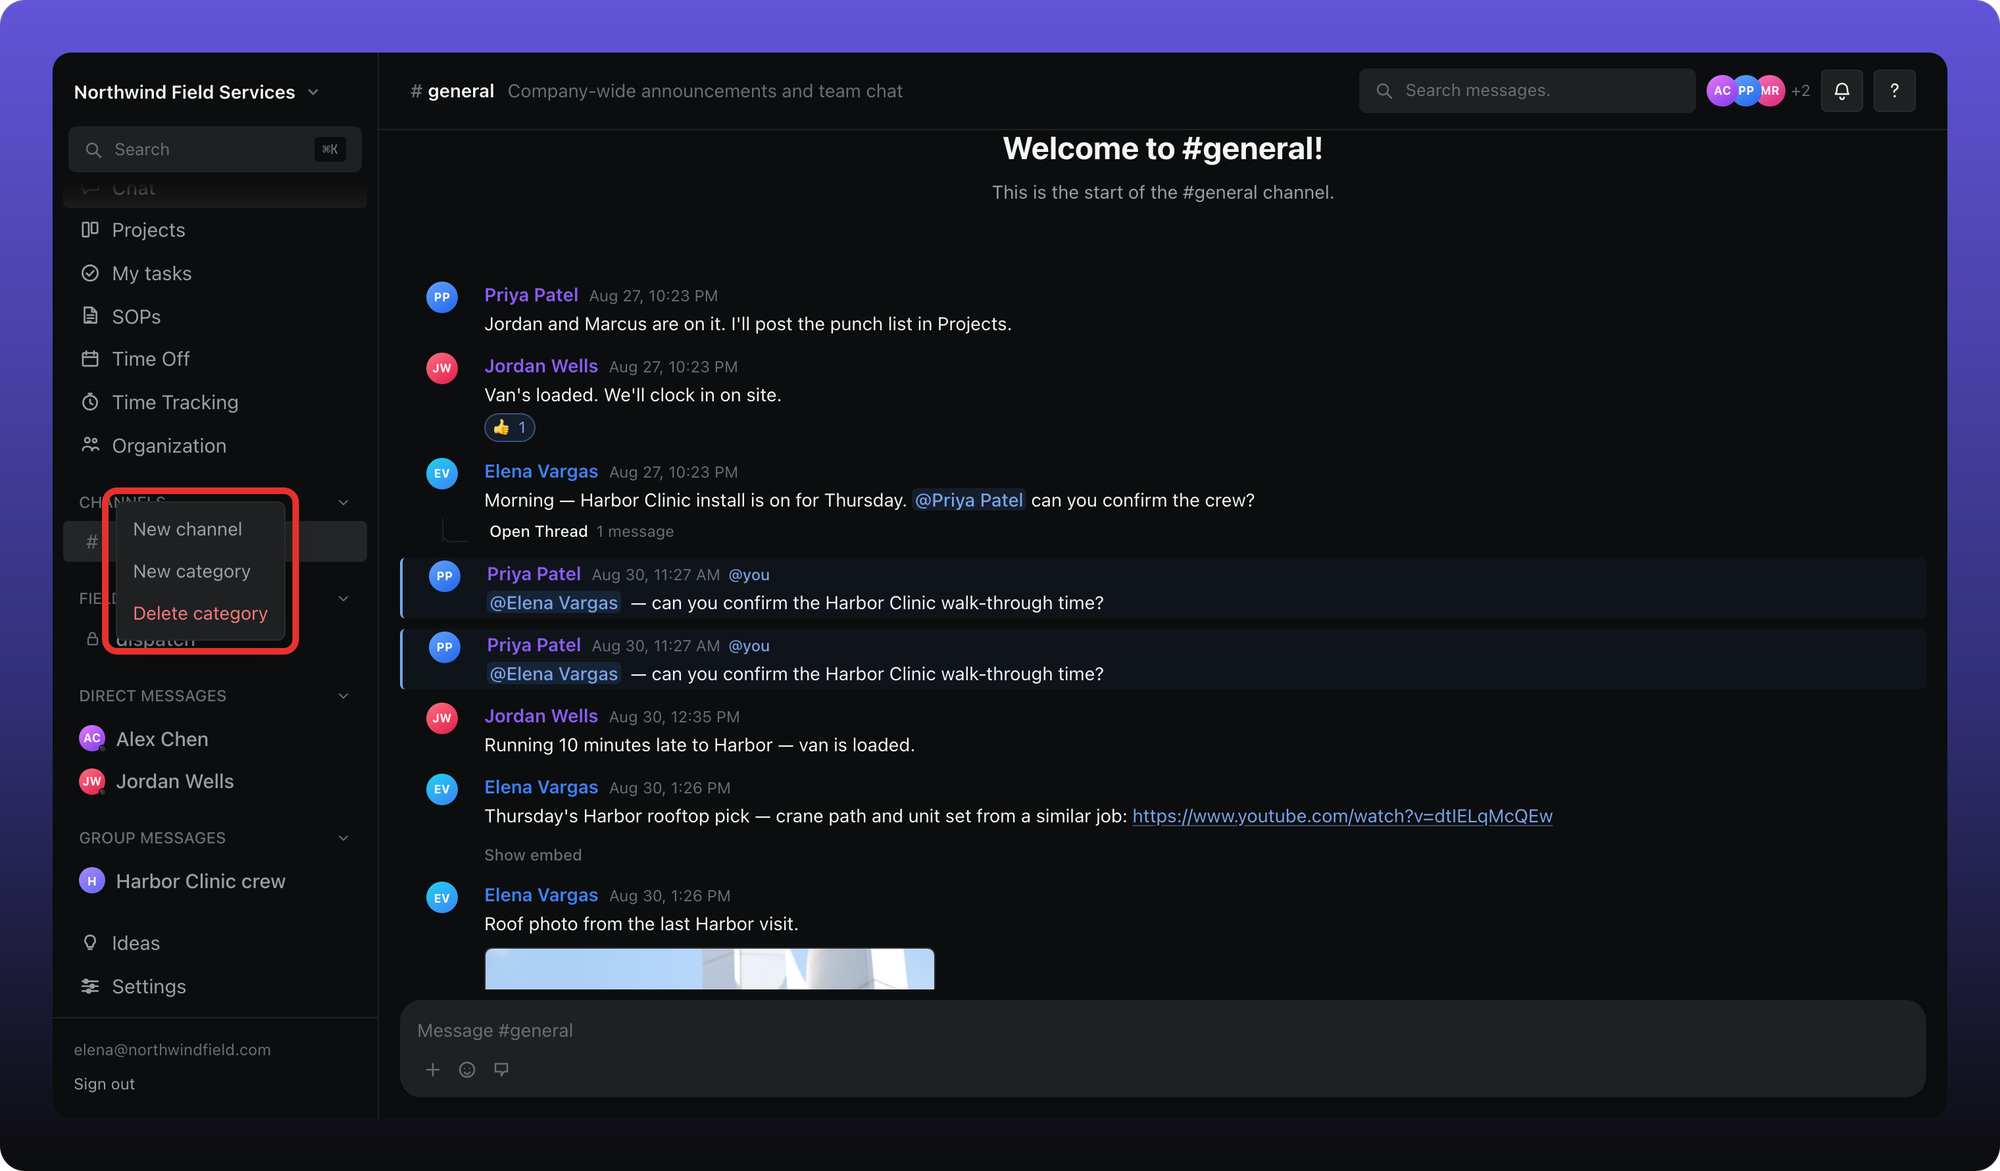
You can also right-click empty space in the Chat sidebar, or the DIRECT MESSAGES heading. Those menus include New channel and New category if you can manage channels.
Create a channel
Click New channel.
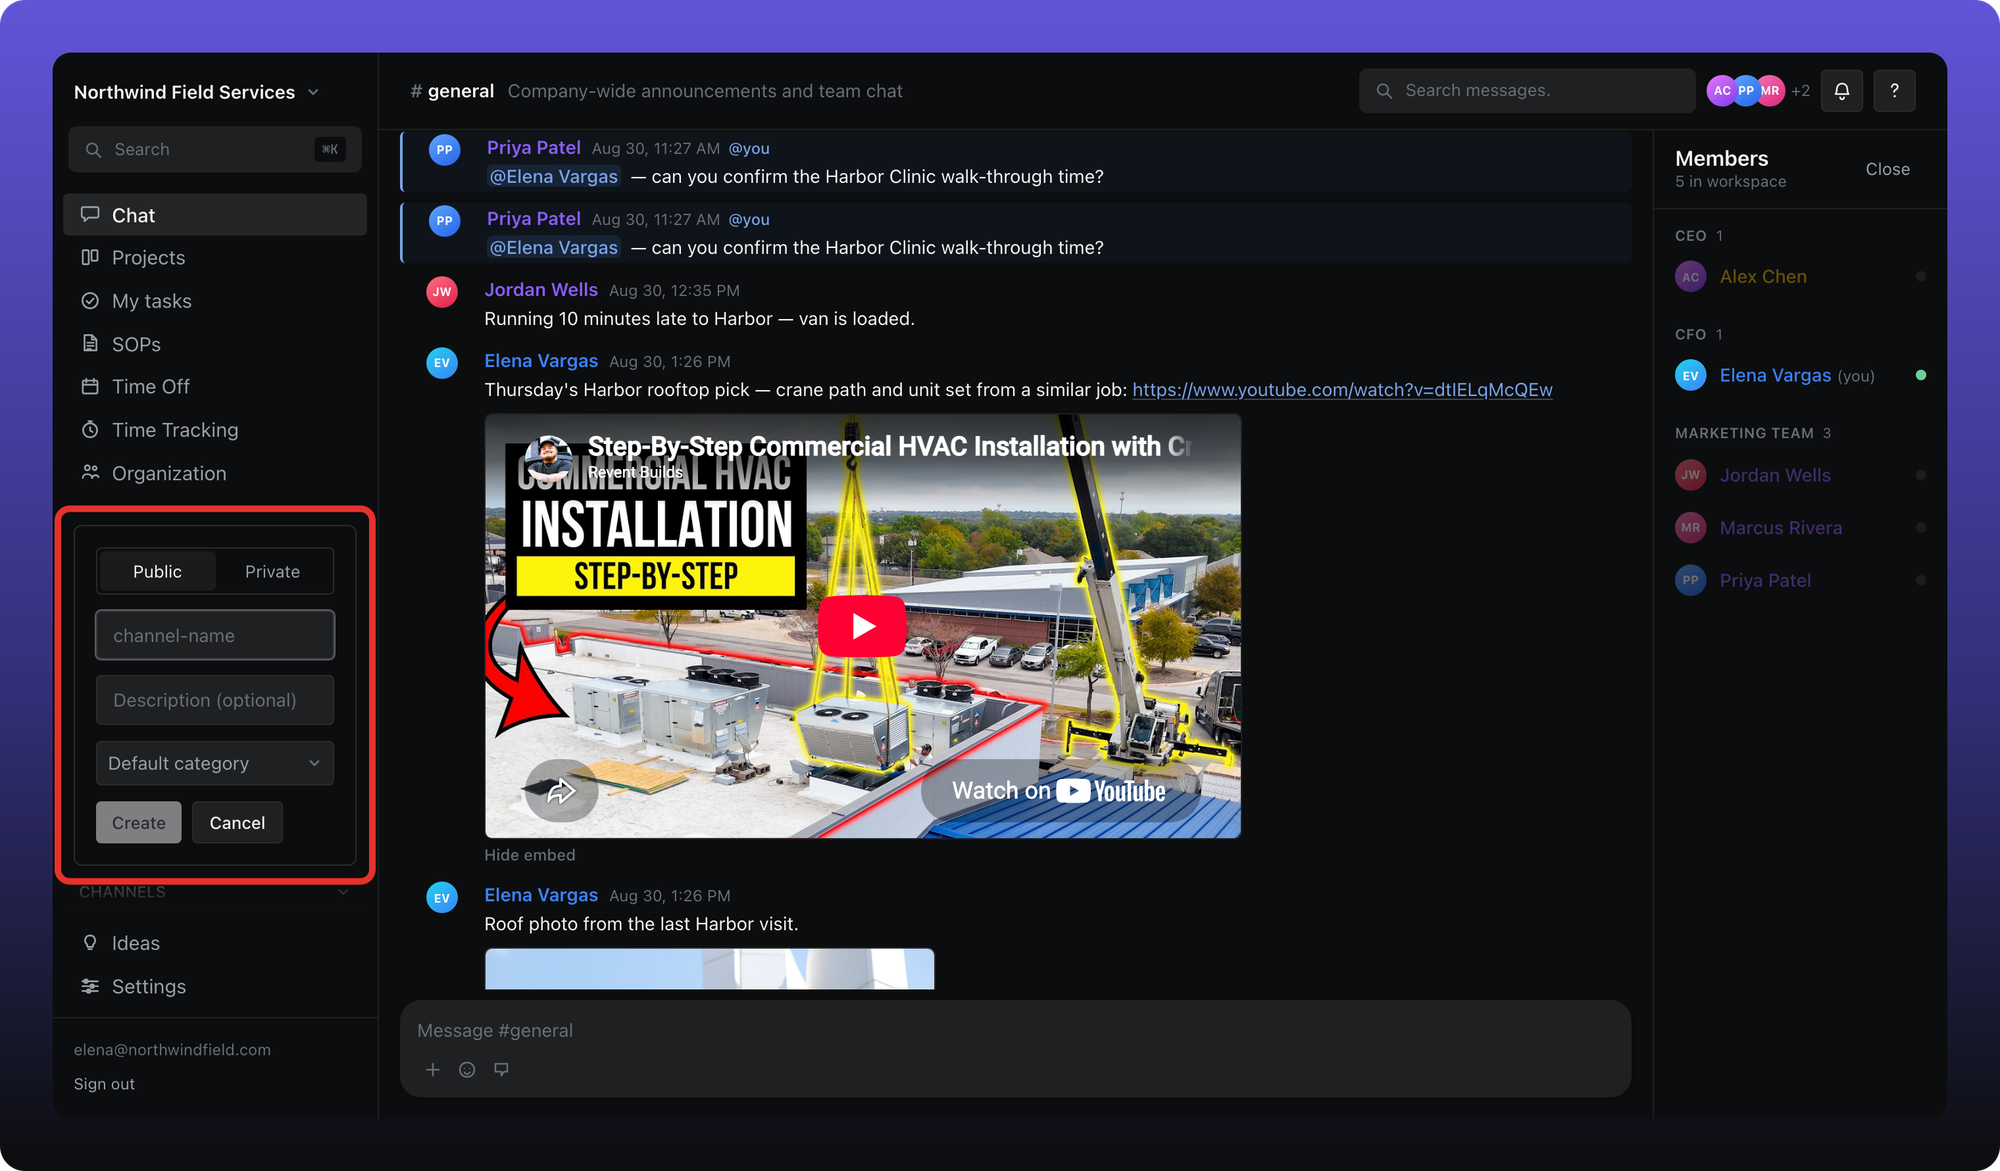
The outlined form is Public or Private, then the channel name. Public channels are visible to the whole workspace. Private channels are only visible to people you grant — including managers and admins, who do not get in automatically. Private channels are covered in their own article.
Create a category
Click New category. Name it and click Create.
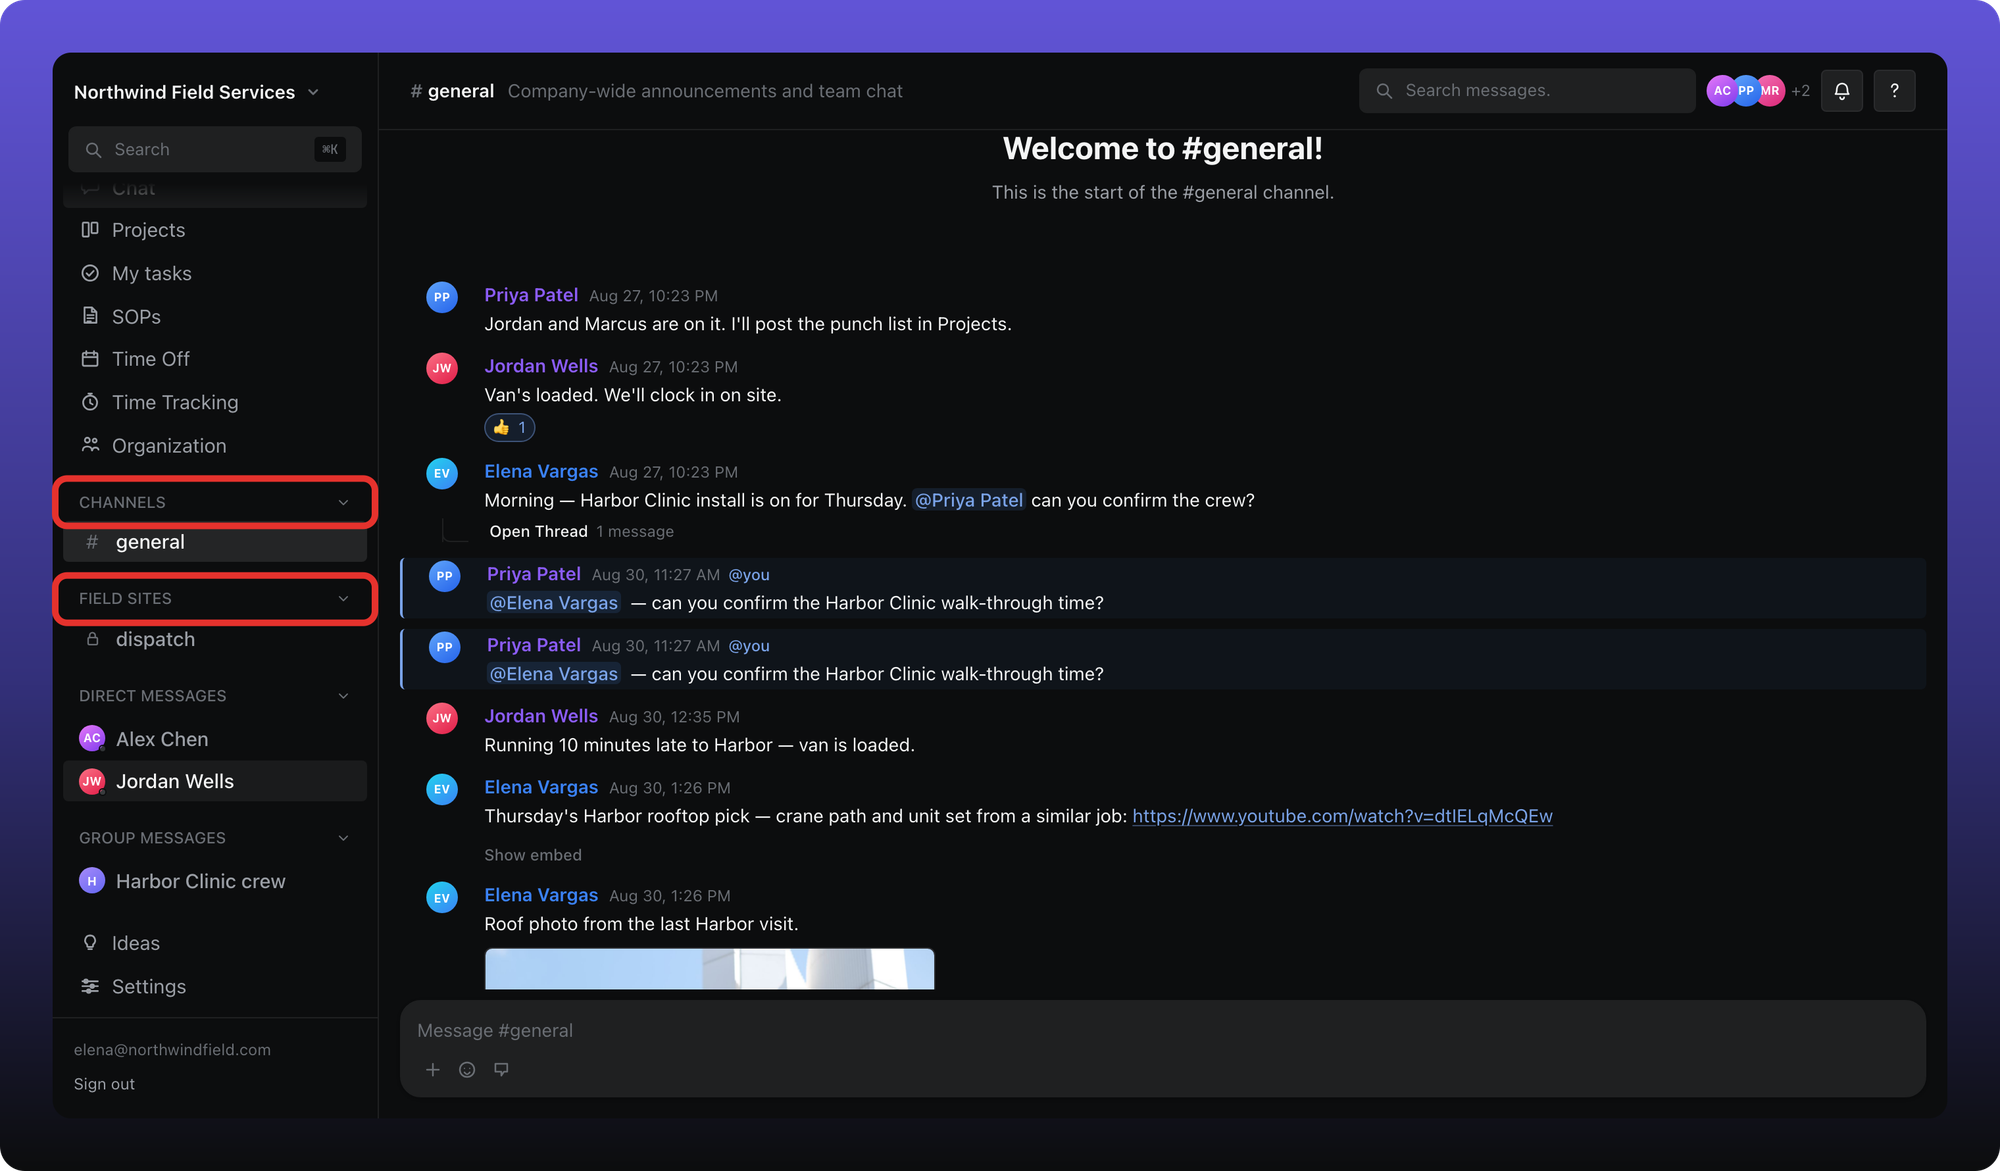
Channels is the default category name and is reserved. Custom categories sit below it.
To put a channel in a category, right-click the channel and pick the category. Rename, privacy, and delete are in Manage a channel.
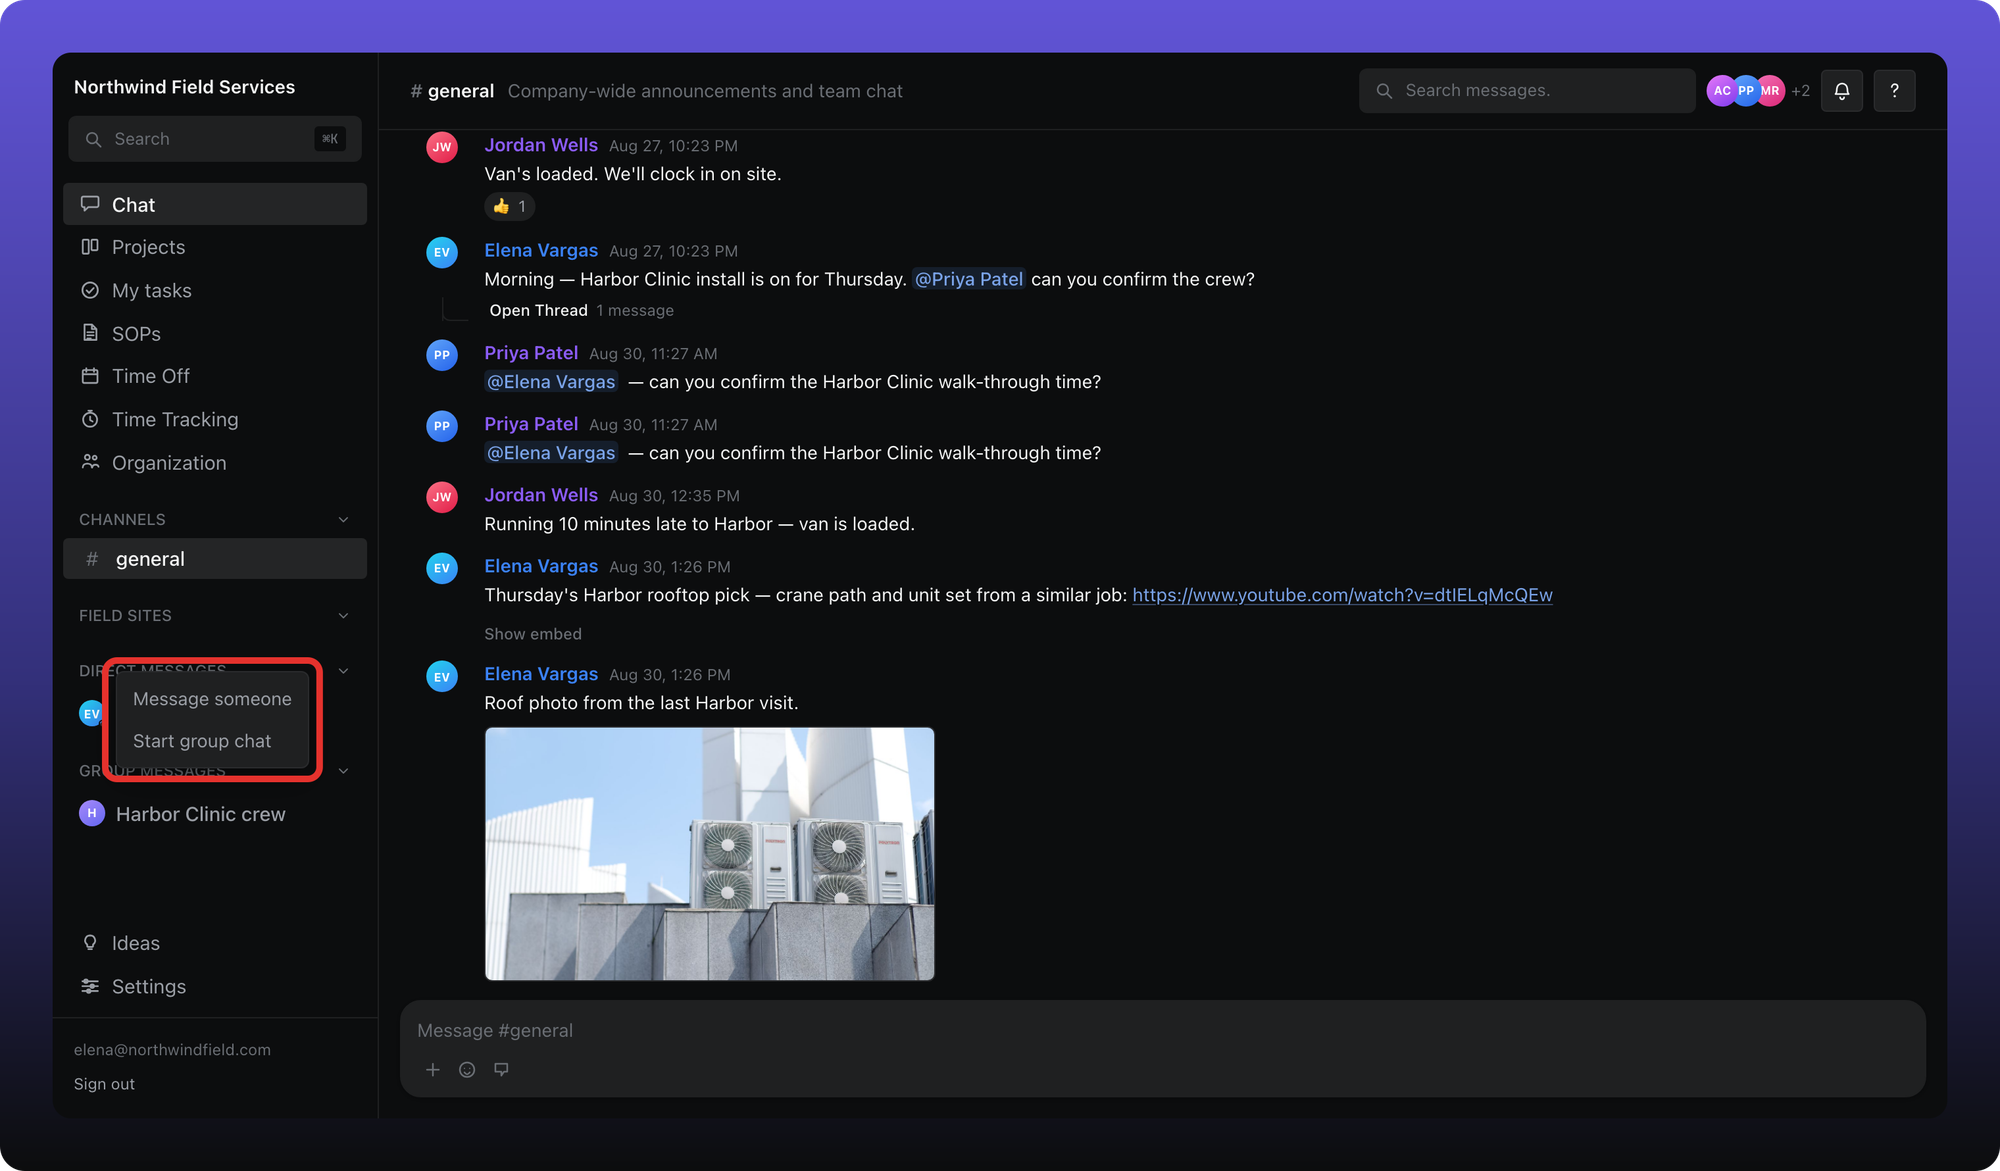
Members cannot create channels
A member’s right-click menu has Message someone and Start group chat only.
Free plan: one channel
Free includes 1 channel. Trying to add another opens this prompt. Nothing is deleted, and there is no replace dialog — upgrade or stay on Free.
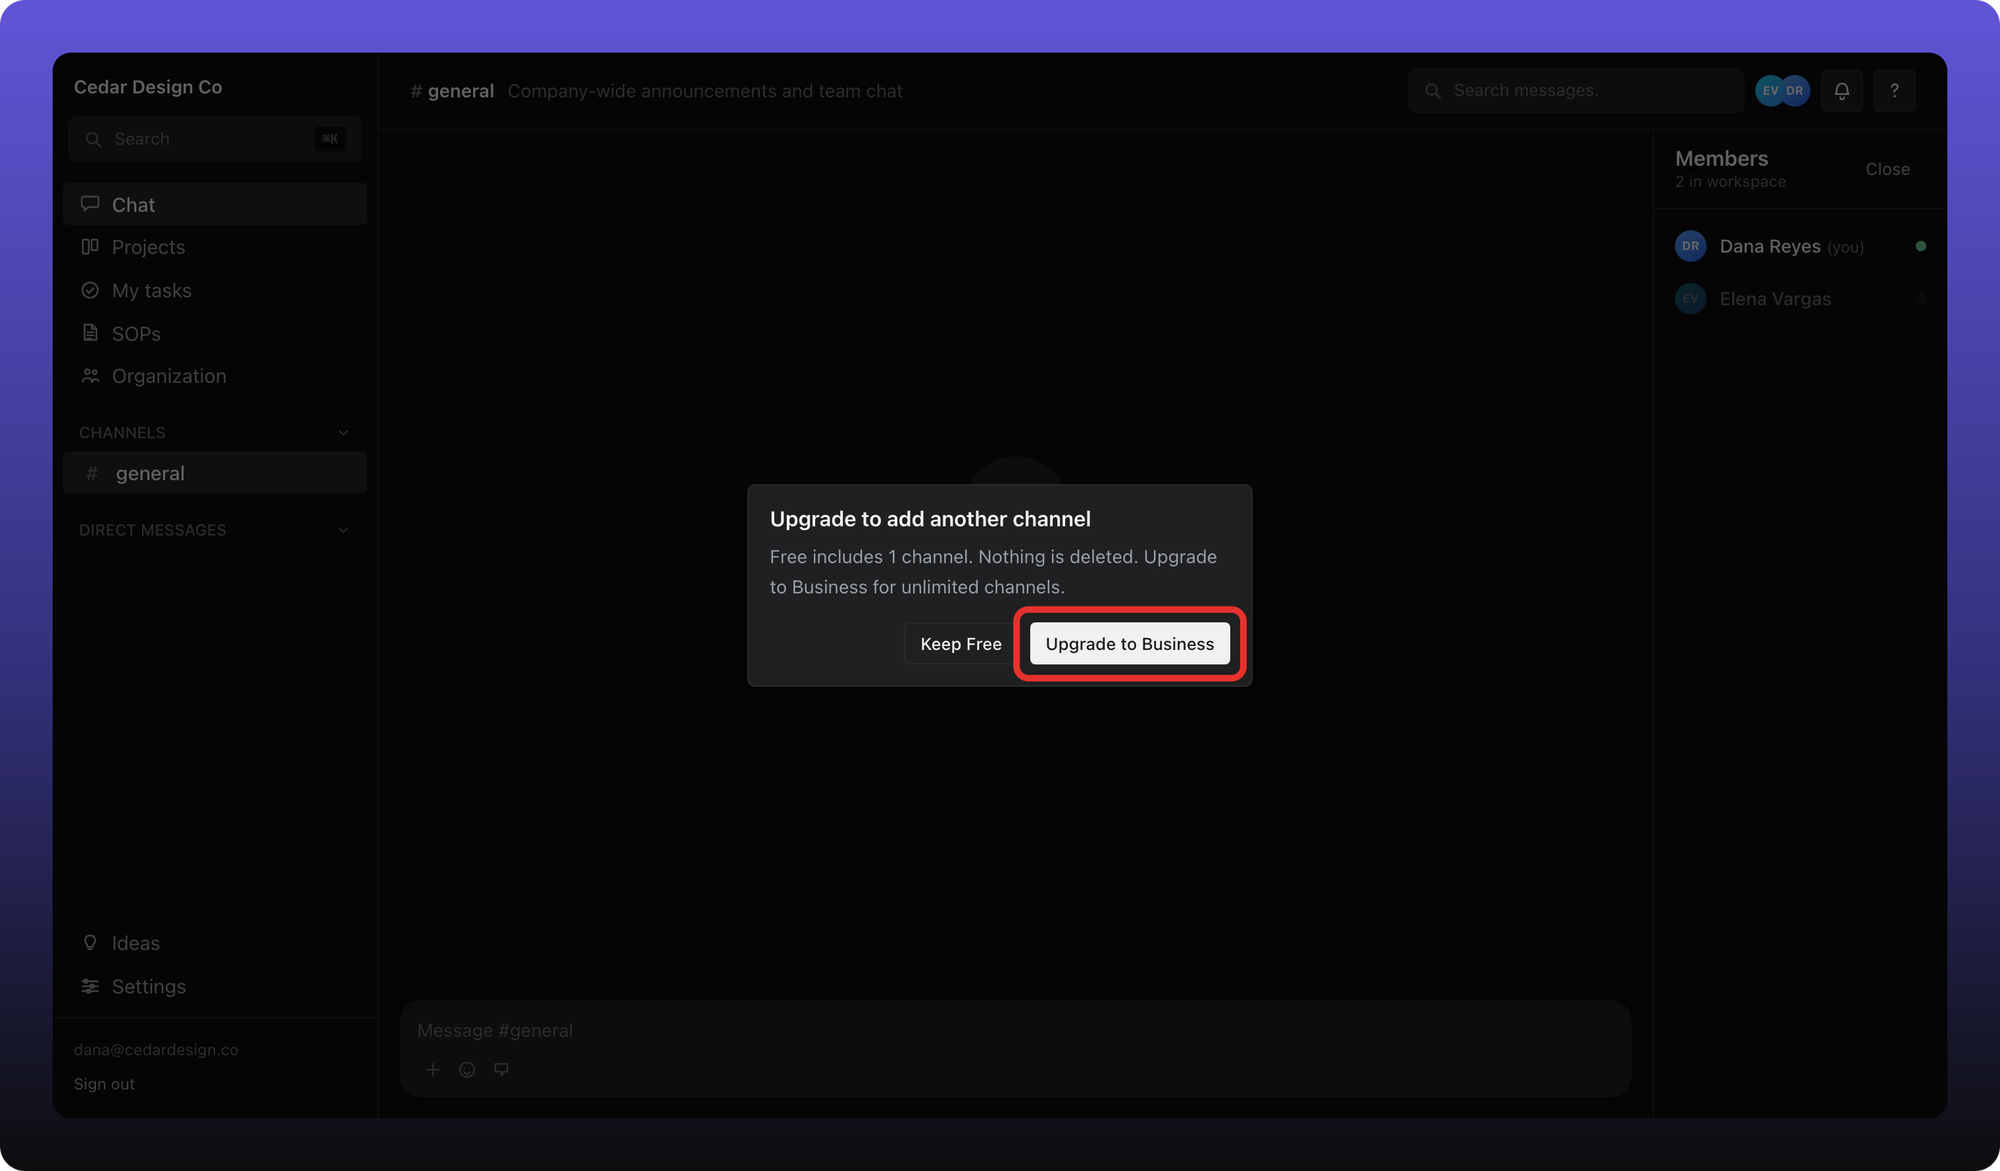
Upgrade to Business or Keep Free.
Related
Private channels and renaming or deleting a channel have their own articles in this collection.
Was this helpful?
Still need help? Ask the team